Step 2: How to Get Meta WABA API Keys, System User Tokens & WABA IDs
To connect Patify under Bring Your Own Key (BYOK) architecture, you need three core credentials: a permanent System User Access Token with whatsapp_business_messaging permissions, a WhatsApp Business Account ID (WABA ID), and a Phone Number ID.
Table of Contents
- • Introduction: The 3 Core Credentials Required for WABA Integration
- • Step 1: Create a Permanent System User in Meta Business Manager
- • Step 2: Assign Meta Business App Assets to System User
- • Step 3: Generate the Permanent Access Token with Mandatory Scopes
- • Step 4: Locate Your WABA ID & Phone Number ID
- • Step 5: Add Your Live Phone Number & Complete Verification
- • Step 6: Configure Webhooks for Inbound Messages & Status Updates
- • Step 7: Connect Credentials into Patify (Zero-#133010 Onboarding)
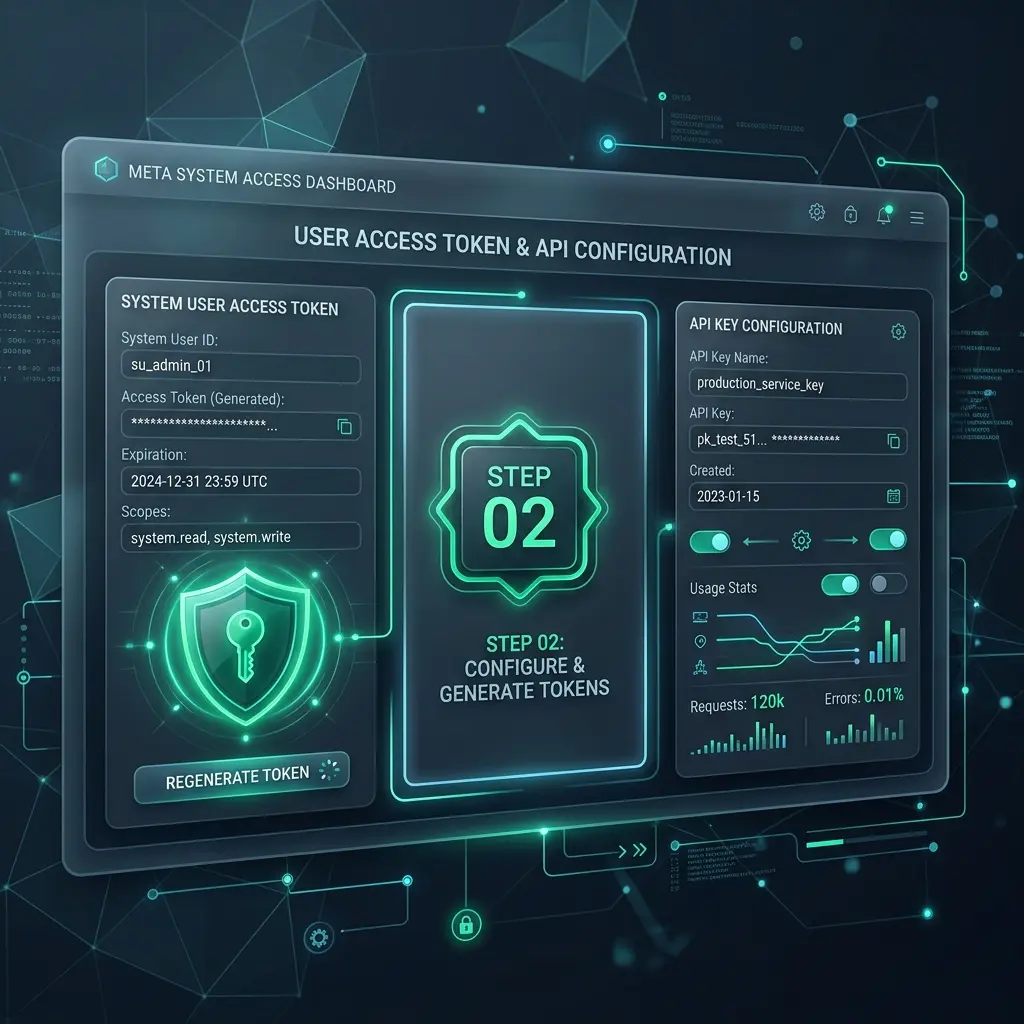
Before proceeding, ensure you have completed Meta Developer Account registration and created your Business App — these are prerequisites for generating System User tokens.
Introduction: The 3 Core Credentials Required for WABA Integration
Under Patify's BYOK (Bring Your Own Key) architecture, your business connects directly to Meta's Cloud API without relying on third-party middleware or paying vendor markups. To establish this direct connection, you require three specific credentials from Meta Business Manager. Here is exactly what they look like so you don't confuse them:
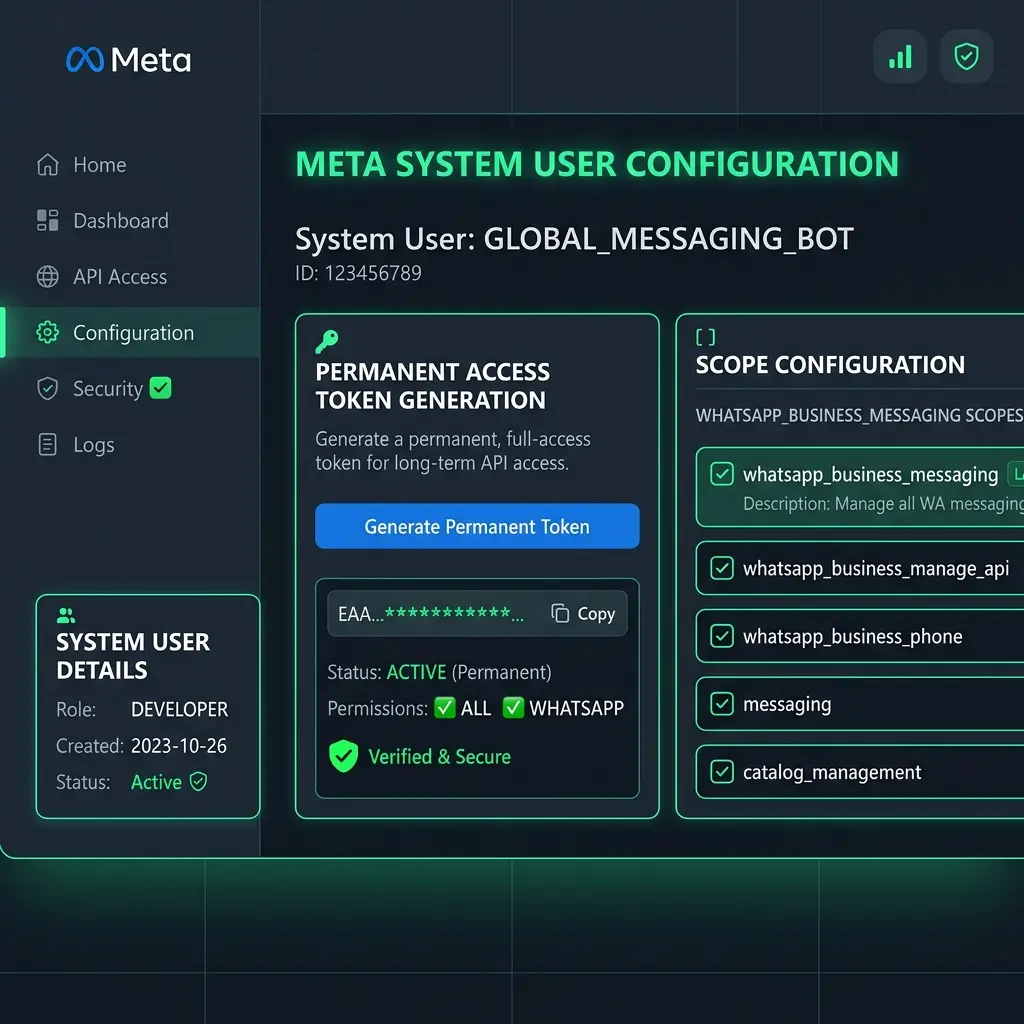
- Permanent System User Access Token: A very long alphanumeric string that always starts with
EAAG... - WhatsApp Business Account ID (WABA ID): A 15-digit number (e.g.
102345678901234). - Phone Number ID: A different 15-digit number specifically assigned to your phone number (e.g.
109876543210987).
EAAL... or similar). You MUST generate a System User token from the Business Settings dashboard that starts with EAAG....
Step 1: Create a Permanent System User in Meta Business Manager
Standard developer user tokens generated in Graph API Explorer expire after 24 hours. For automated production servers, you must create a dedicated System User whose token never expires:
- Navigate to business.facebook.com/settings.
- In the left sidebar, expand Users > System Users.
- Click Add, enter a descriptive system name (e.g.,
Patify-Production-Bot), and assign the Admin role.
Step 2: Assign Meta Business App Assets to System User
After creating the System User account, you must explicitly delegate full control of your WhatsApp Business App:
- Click Add Assets under the System User details panel.
- Select Apps > choose your Meta App created in Step 1.
- Toggle Full Control (Manage App) to ON and click Save Changes.
Step 3: Generate the Permanent Access Token with Mandatory Scopes
Click Generate New Token under your System User panel:
- Select your Meta Business App from the app dropdown.
- Set Token Expiration to Never (so your automated campaigns run 24/7 without token renewal errors).
- Check the following two mandatory permission scopes:
whatsapp_business_messaging(Required for dispatching templates & live chat)whatsapp_business_management(Required for syncing templates & webhooks)
- Click Generate Token and copy the resulting string. Store this token securely!
Step 4: Locate Your WABA ID & Phone Number ID
In Meta Developer Console, navigate to WhatsApp > API Setup in the left sidebar menu:
- Locate the WhatsApp Business Account ID field (a 15-digit number).
- Locate the Phone Number ID field directly below the phone selector dropdown.
Step 5: Add Your Live Phone Number & Complete Verification
By default, Meta provides a temporary sandbox number with strict limits. To use WABA in production, you must link your own phone number:
- In the Developer Console under WhatsApp > API Setup, scroll down and click Add Phone Number.
- Enter your company's display name, category, and business description.
- Enter the phone number you want to use (it must be capable of receiving an SMS or Voice call for OTP verification).
- Complete the OTP verification. Your new Phone Number ID will now appear in the dropdown menu.
Step 6: Configure Webhooks for Inbound Messages & Status Updates
To receive inbound customer replies and track "Delivered/Read" statuses, you must tell Meta where to send event data:
- In the Developer Console, go to WhatsApp > Configuration.
- Under Webhooks, click Edit.
- Enter the Callback URL and Verify Token provided by Patify (found in your Patify Settings > WhatsApp).
- Click Verify and Save.
- Click Manage under Webhook Fields and subscribe to
messagesandmessage_template_status_update.
Step 7: Connect Credentials into Patify (Zero-#133010 Onboarding)
Log in to your Patify Tenant Dashboard, navigate to Settings > WhatsApp, and paste your 3 keys (Token, WABA ID, Phone Number ID). Patify's Zero-#133010 Onboarding Engine automatically performs two-step phone activation (POST /{phone_number_id}/register) with dynamic 6-digit random PIN generation, eliminating Meta Error #133010: Account not registered on new numbers. Your platform is now connected and ready to run high-volume broadcast campaigns with 0% Meta markup.